Synth Hacking 2K
In the Beginning…
There was eBay. It was 1999 (or thereabouts), and I’d just made one of my first eBay purchases, a 2-voice OB-Mx synthesizer. I had this grand idea that I would copy, manufacture, and sell clones of the voice cards (which, even in 1999, were becoming hard to find). Most of the parts, at that time, were obtainable (no longer!!).
This would be my first venture in reverse engineering.
First of all, like the rest of my reverse engineering projects, I stripped the card down to the bare PCB, carefully inventorying each component, and noting any post-manufacture modifications. I bought an 11×17 scanner (a Microtek, I believe), and first did a full scan with the components mounted on the board, and then full scans of the bare PCB once I removed all the components.
This was in early 2000. I had a brand new Power Mac G4, 400 Mhz. This was before OS X, and dealing with huge 11X17 scans was painfully slow. Using Lemke Soft’s Graphic Converter, reduced the color table to 16 bit, and did a further reduction to 8 bit grayscale, adjusting the contrast and brightness to make the copper tracks stand out as much as possible.
My EDA software at the time was McCAD EDS, which I’ve since abandoned. At the time it was one of the only PC design programs available for the Macintosh, but even in 2000 it looked like an application from the 1980’s. Still, it had the tools I needed. I put the PC board scan up beside the McCAD editor window, and started copying the board, half a square inch at a time. Luckily it appeared that all the components and tracks were in a 25 mil grid, so I could use the component footprints and tracks to gauge the distances.
Routing the board took about 2-3 months, which I basically did in the evenings when I got home from work. I did several passes of checking the board in McCAD against the scanned board. These days, I can cross-check the schematic against the PCB board, which will tell me instantly where there is a discrepancy. But back then, I was flying blind with no schematics. Good times.
PAL’s and Prototypes

Building the Board
I was finally satisfied with the layout, so I started checking out places to get boards manufactured. The voice board is quite large, about 7 X 13 inches, so getting a fully spec’d board was out of the question. Advanced Circuits in Colorado had a great prototype service so I got a couple of boards made there.
Component sourcing was a big task – I probably got quotes from 20 chip brokers before I settled on US Bid. Back then you could actually negotiate prices with the person that had the chips you wanted – you would submit your offer and the vendor would accept or reject it. Nowadays you just deal with the broker directly, but I liked the older system much better.
The hard to get chips included: The 80C198 CPU, AD7537 DAC for control voltages, the MPQ transistor arrays for the VCF’s, and all the CEM chips which I ended up getting from Synthesis Technology (they’ve long sold out of all those chips). The PD508 S/H chips I substituted with SSM2300 S/H which have an identical pinout but slightly different specs. Rochester Electronics provided me with all the SSM chips. Electrosonic in Toronto had the Xicor QuadPot IC’s, and the Vactrol optoisolators for panning came from Allied. I got most of the other components from Mouser.
Once I got all the parts I needed, the biggest problem was a PAL that did the address decoding on the board. For those of you who don’t know, PAL stands for Programmable Array Logic. It’s basically a chip with memory in it, but the memory controls a matrix of logic circuits, so you can essentially design a custom chip to do the work of several other generic chips. This saves space but also (as I found out) allows a degree of copy-protection, as there is a security feature of these devices that prevents reading back the configuration memory.
To get around this problem, I whipped up a hand-wired breadboard that adapted the PAL pinout to make it look like an EPROM. The way the PAL is configured on the voice board, is that it has a number of address inputs, and chip-select outputs. What happens is when the CPU is accessing memory, the PAL will activate one or more of its output pins, when the address inputs represent certain memory locations. This has the effect of assigning different sections of memory to different chips on the voice board. For example, the ROM chip might be at locations 0000-10000, the RAM would be at 10001-20000, the DAC for the control voltages at 30000-35000, etc. All these devices have a ‘chip enable’ pin that connects to the PAL.
Since I had no idea of the inner workings of the PAL, I used the ‘black box’ approach, applying every possible combination of binary inputs to the PAL, and monitoring the outputs. Initially, I used a breadboard with a bunch of binary switches for the inputs, and LED’s for the outputs. However, with a possible 65536 combination of output states, I realized it would take a LONG time do do this. Using the EPROM programmer to ‘read’ the PAL, it quickly scanned through all the addresses, and recorded the output states, just as if it were a ROM chip. I could then browse through the list of addresses, and quickly see any patterns or changes.
VCO Blues

Debugging – Over and Over
Once I had figured out what the PAL chip was doing, I had to come up with logic equations to generate the functions that I was observing. I don’t recall at this point what I used, but I suspect it was a DOS version of PALASM, which is a really old text-based program.
I plugged the PAL in the prototype board – and no sound came out of it.
At least nothing exploded, burst into flame, or melted.
At this point I was in the process of moving to California, so everything got packed away in a box and left at my parents’ place. About 18 months went by (maybe more). I finally got most of my possessions shipped to my new apartment, and I set up my music gear again. I had actually written the project off – I was convinced that there was a major error in the PC board, or there was some other serious design flaw. However at one point, perhaps during a boring day at work, I re-examined my PAL equations and realized that I’d made a significant error in the address decoding.
I re-programmed the PAL (actually a GAL, which to this project didn’t make a difference) and switched on the OB-Mx. Finally, the sweet sounds of VCO’s and VCF’s poured out of the voice card.
However the was now a new problem – the VCO’s were horribly out of tune. Auto-tune from the front panel didn’t help, so I was baffled once again.
Another 6 months went by. I was idly surfing the web when I discovered a post in an old newsgroup about a special ‘calibration’ EPROM that you needed to dial in the voice cards. I emailed the poster, and luckily not only did he have the same email address but was willing to copy it for me (once I shipped him an EPROM programmer to read it). He also had the procedure for doing the calibration.
Once I had the calibration EPROM in the OB-Mx, it didn’t take long to get my prototype boards in tune. It actually seemed like everything really worked.
Epilogue

Too Little, Too Late
At this point I was really enthused. I ordered 20 full spec PC boards, and started building them up during idle moments at work. I think it was 2005, or maybe 2006. I’d been working on the project for 5 years or so, on and off (mostly off). I had enough components to build up six complete 2-voice cards. I had to scavenge some CEM3374 VCO’s from a Chroma Polaris, which I hated to do, since the Chroma is a fine instrument itself.
I purchased a couple more OB-Mx’s off of eBay, one with no voice cards and one with one. If I ever manage to get any more CEM3374’s (and CEM3382’s), I’ll eventually manage to build up three fully expanded OB-Mx’s.
How do my clone boards stack up against the factory boards? One of the big problems with the OB-Mx was that in order to cut costs, they used up existing components they had stockpiled, many of them not ideal for the extremely critical VCO and VCF circuits. On the other hand, the components on my clone boards were as high-quality as I could afford. I feel that my boards calibrate easier, and hold the calibration better. The resistors are all metal film, and most of the capacitors in the audio circuits are 5% or better tolerance, with NPO (C0G) temperature coefficient where possible. Metal film capacitors have replaced mono caps in some instances.
At this point, there are no plans to make or sell any boards. It was an interesting experiment, and a great learning experience for me, which came in handy when I did my other ‘clone’ projects, like the DSS-1 and ASR-10 boards.
Recently a gentleman by the name of Ulrich Schnauss sent me his OB-Mx to be investigated. He’d bought it at an estate sale, and it wasn’t working properly. The voices all sounded different, the envelopes didn’t work correctly on half the boards, etc. Upon opening the instrument, I found no fewer than four different vintages of voice card, which I had to modify to bring them all to the same hardware rev. The biggest surprise was that on three of the boards, they’d mistakenly put a PA381 (a linear VCA) in place of the correct PA382 (a logarithmic VCA). This one part is what controls the main final VCA envelope. I guess Gibson’s quality control was nonexistent towards the end of the OB-Mx’s short, ignominious career.
OberM006

I Can’t Promise Anything… But
Since the future of the OB-Mx voice card project is pretty bleak at this point, I thought I’d end on a positive note. Some time ago, I purchased one of three existing OB-Mx prototypes developed here in Los Angeles by Richard Bugg and his team of engineers. It’s completely different inside that the OB-Mx production model. There are pictures of it on the internet, but I’ll take a more photos and post them here.
I actually think that it may be possible to develop the prototype further. It actually uses less hard-to-get parts, but we’ll have to wait and see.
I may even try to post some sound files of this rare beast in action. I did power it up, but it’s quite out of tune, and the adjustments are all manual.
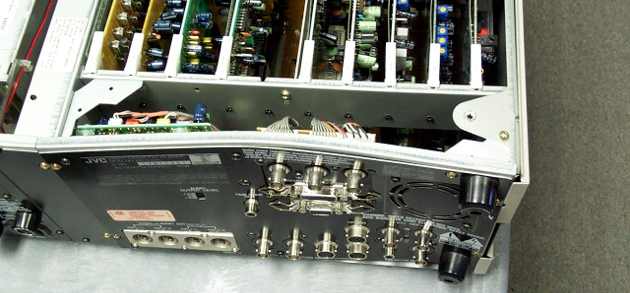
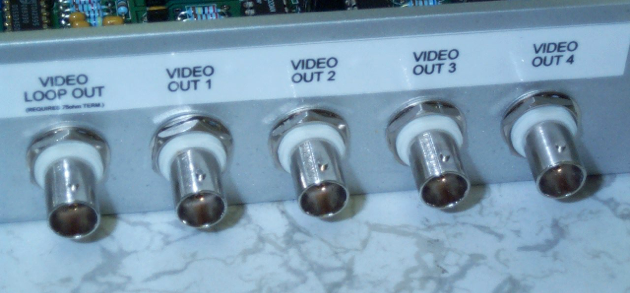
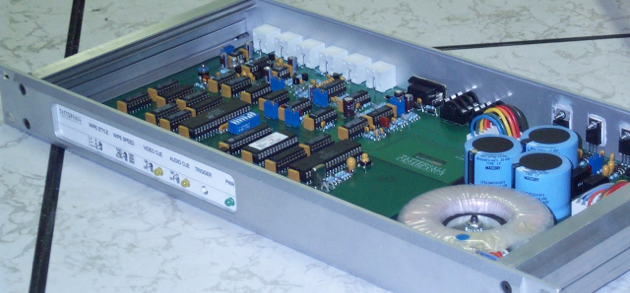
By the way, hope you enjoyed all the placeholder images…I’ll change them to something else when I get some better material 🙂
Here’s a more than interesting read about the developement of this synth:
http://web.archive.org/web/20010423234143/stephengoldin.com/gibson/technohick01.html
Yes, I did read that a long time ago. I actually got in touch with Lynx Crowe some years later regarding the voice boards and he was very helpful. He mentioned that he would be interested in collaborating on a new synthesizer as long as it wasn’t with Don Buchla!! Don’t know what he’s up to these days though. I also got in touch with Richard Bugg who was in the development team for the original OB-Mx (before Buchla was involved). I have one of their prototypes on the shelf…
Hi, I have an OBMx, one thing that I have always wondered about is that the original prototypes supposedly sounded a lot better i.e. the moog filters actually sounded correct and had real moog punch.
What did they do to mess up the sound so it has no punch?
I have always wondered if it was an underpowered section in the signal chain such as a tiny capacitor where there was a big one resulting in a shortage of current? Thoughts? If you could work that mod out there would be a stampede. It has as I understand it good chips, where in the signal chain did it go wrong in your opinion. I wonder if there is a simple mod that can transform the OBMx into what it was meant to sound like http://www.soundonsound.com/sos/1994_articles/sep94/oberheimobmx.html
I think there are a couple of things that could contribute to the sound. There are tantalum capacitors at several points in the signal path. Using tantalum caps this way is usually a no-no for audio. Also, a digitally-controlled potentiometer is used for gain trim in the signal path, this could also be an issue. SSM2024 VCA’s are used quite a lot in the signal path. I’ve read that they are not the best sounding VCA’s. However replacing them with another VCA would be a major redesign, and I don’t know how many people with OB-MX’s would be willing to throw out their old voice boards for new ones. However something like swapping out capacitors is more feasible. The original prototype OB-Mx is a completely different design. I have one of these units and one day I may try and ‘finish’ the design as it has some major issues.
Quite an undertaking! I understand this project has been mothballed. If it ever comes back to life let me know. I have an empty OB-Mx that needs filling…
Hi Tom,,
Any chance if any if the Obmx boards making the light off day ?
Cheers
I did 20 boards a number of years ago. They work fine, the problem is the cost and complexity of building them and the fact that the CEM’s aren’t available at present.
Hello Tom
Have you decided tho make any more of these voice cards for the ob-mx
I may make some eventually but there will have to be some design changes due to some of the IC’s no longer being available.
Hey man,
You wrote that you make 20 boards. Are they all gone? I’m really interested in some of them. I know the built is difficult and high costs but if I see the prices for a 2 voice card is growing up to the sky and the ic’s I found on ebay and other places , OK with bad price!
If you want to make an new batch I’m interested too.
Greetings from Germany
I still have them. I have interest from other people as well. Currently I have issues with some of them due to faulty components. I plan to substitute some of the hard to get parts with others, but that will take some time. The first batch were all hand built but if I make any more it will be done by a PCB assembly company. Maybe next year sometime.
I would be sincerely interested in a new batch or the ones you have remaining from the previous batch.
Look forward to more updates.
Thanks for all efforts and time.
I am also very interested
I too am interested!
I also am interested! Any chance you can provide an update to a few of us biting our nails?
🙂
Wow, is this still a live project? Very interested in these.
The project is suspended for now, until I can evaluate component availability and see what can be swapped out with more modern parts without affecting the sound. Currently I’ve replaced the CEM3382 final VCA stage with a SSI2162 which has required some additional circuitry to scale and adapt the control voltages properly.
Just to add to this, I’d love to buy some if you do find a way to make this viable.
Add me to the waiting list too, please! (If there is one!)
I’ve just bought an Obmx and will need to give it a check up.
So upgrade certain mono caps with metal film capacitors and check they haven’t put a PA381 in place of the correct PA382.
Which are the main caps to change?
Regards,